Table of Contents
ToggleHow to Install WordPress in cPanel with Namecheap
Are you ready to launch your website using WordPress but don’t know how to get started with Namecheap’s cPanel? Installing WordPress on cPanel with Namecheap is straightforward and beginner-friendly. In this guide, I’ll walk you through the process step by step to get your website up and running in no time.
Step 1: Log in to Your Namecheap Account

- Visit Namecheap and log in with your credentials.
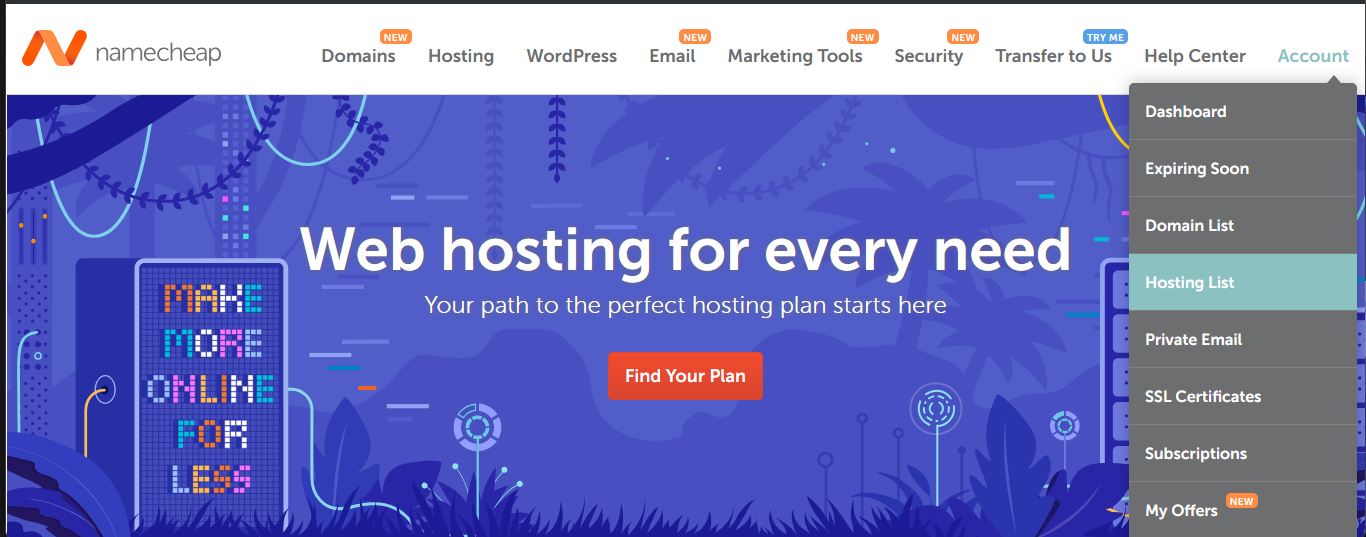
- Navigate to the “Dashboard” and select your domain from the list of purchased domains.
Step 2: Access cPanel

- From the Namecheap dashboard, locate the “Hosting List” under your account options.
- Find your hosting package and click the “Manage” button next to it.
- Scroll down and click on “Go to cPanel” to access the cPanel dashboard.
Step 3: Locate the Softaculous App Installer

Namecheap’s cPanel includes a tool called Softaculous, which simplifies WordPress installation.
- In the cPanel interface, search for “Softaculous Apps Installer” or scroll to the Software section.
- Click on “WordPress” under Softaculous to start the installation process.
Step 4: Begin the WordPress Installation

- In Softaculous, click on “Install Now” under WordPress.
- Fill in the installation details:
- Choose Protocol: Select
https://if you have an SSL certificate installed. Otherwise, usehttp://. - Domain: Choose the domain where you want to install WordPress.
- Directory: Leave this blank if you want WordPress installed on the root domain (e.g.,
example.com). Otherwise, specify a directory (e.g.,example.com/blog).
- Choose Protocol: Select
Step 5: Configure WordPress Settings
- Site Settings:
- Site Name: Enter your website’s name (e.g., Bero Technology).
- Site Description: Add a tagline or description (e.g., The Best Designs and Web Solutions).
- Admin Account:
- Admin Username: Create a unique username. Avoid using “admin” for security purposes.
- Admin Password: Use a strong password and store it securely.
- Admin Email: Enter a valid email address for account recovery and notifications.
- Language: Choose your preferred language for WordPress.
Step 6: Select Plugins and Themes (Optional)
Softaculous offers additional plugins and themes for installation during this step:
- You can select a default theme or skip it and choose one later from the WordPress dashboard.
- Consider enabling the “Limit Login Attempts” plugin to enhance your website’s security.
Step 7: Advanced Options
- Expand the Advanced Options section to configure database settings.
- You can leave these settings as default, but if you prefer, you can:
- Rename the database and table prefix for added security.
- Enable auto-upgrades for WordPress, plugins, and themes.
Step 8: Install WordPress
- Double-check all the settings to ensure everything is correct.
- Click on the “Install” button to begin the installation process.
- Once the installation is complete, Softaculous will display a success message with your WordPress login URL (e.g.,
example.com/wp-admin).
Step 9: Log in to Your WordPress Dashboard

- Visit the provided login URL (e.g.,
example.com/wp-admin). - Enter your admin username and password created during the installation process.
- You’re now logged into your WordPress dashboard and ready to start customizing your website!
Pro Tips
- Secure Your Site: Install an SSL certificate via Namecheap’s cPanel. It enhances your website’s security and improves its search engine ranking.
- Regular Backups: Use plugins like UpdraftPlus or enable backups in cPanel to safeguard your data.
- Update Plugins and Themes: Regular updates help prevent security vulnerabilities.
Conclusion
Congratulations! You’ve successfully installed WordPress using cPanel with Namecheap. Whether you’re building a blog, portfolio, or business website, WordPress offers endless possibilities to create a professional online presence.
Need help with web design or rebranding? Bero Technology is here to provide the best solutions for your needs. Contact us today at berotechnology8@gmail.com or visit Bero.com.ng.
Ready to take your website to the next level? Leave a comment below if you have any questions, and let’s make your website dreams a reality! 🌟


